Run Deepseek R-1 on your NVIDIA-powered Windows laptop
A very short walkthrough with ready-to-run commands to install Deepseek R-1 on your NVIDIA-powered Windows laptop.
## All-in-one script, run on WSL
Please read through at least once to understand what it is trying to do before running it.
1
2
3
4
5
6
7
8
9
10
11
12
13
14
15
16
17
18
19
20
21
22
23
24
25
26
27
28
29
30
31
32
33
34
35
36
37
38
#!/bin/bash

# Exit script on error
set -e

# Ensure curl is installed
sudo apt update && sudo apt install -y curl

# Install Ollama
if ! command -v ollama &> /dev/null
then
    curl -fsSL https://ollama.com/install.sh | sh
fi

# Download DeepSeek R-1 model
ollama run deepseek-r1:7b -d

# Install uv
if ! command -v uv &> /dev/null
then
    curl -LsSf https://astral.sh/uv/install.sh | sh
fi

# Install and start Open Web UI using Docker
if ! command -v docker &> /dev/null
then
    echo "Docker is not installed. Please install Docker manually."
    exit 1
fi

docker run -d --network=host -v open-webui:/app/backend/data \
    -e OLLAMA_BASE_URL=http://127.0.0.1:11434 \
    --name open-webui --restart always \
    ghcr.io/open-webui/open-webui:main

# Output success message
echo "Setup complete! Open your browser and visit http://localhost:8080 to start chatting."
Prerequisite: Install WSL 2
Reference: https://learn.microsoft.com/en-us/windows/wsl/install
Open your Command Prompt and run this command to have WSL installed
1
wsl --install
Step 1: Install Ollama on WSL
Reference: https://ollama.com/download/linux
Wait for the WSL installation to complete.
Run the following command on your WSL console:
1
curl -fsSL https://ollama.com/install.sh | sh
Step 2: Install Deepseek R-1 model
Now you can install your favorite Deepseek R-1 model.
They are listed here: Ollama’s Deepseek R-1
I used the 8B params version on my 3070ti and it works nice.
You should test out different versions to see which works for you.
Run the following command on your WSL console:
1
ollama run deepseek-r1:7b
Step 3: Install uv
Reference: https://docs.astral.sh/uv/getting-started/installation/
You may have to install curl using sudo apt install curl
Then run this command to install uv
1
curl -LsSf https://astral.sh/uv/install.sh | sh
Step 4: Install Open Web UI
Reference: https://github.com/open-webui/open-webui
Make sure to check out their troubleshooting section.
Make sure there is no process listening on port 8080 on the windows interface.
Run the following command on WSL:
1
docker run -d --network=host -v open-webui:/app/backend/data -e OLLAMA_BASE_URL=http://127.0.0.1:11434 --name open-webui --restart always ghcr.io/open-webui/open-webui:main
Step 5: Start chatting!
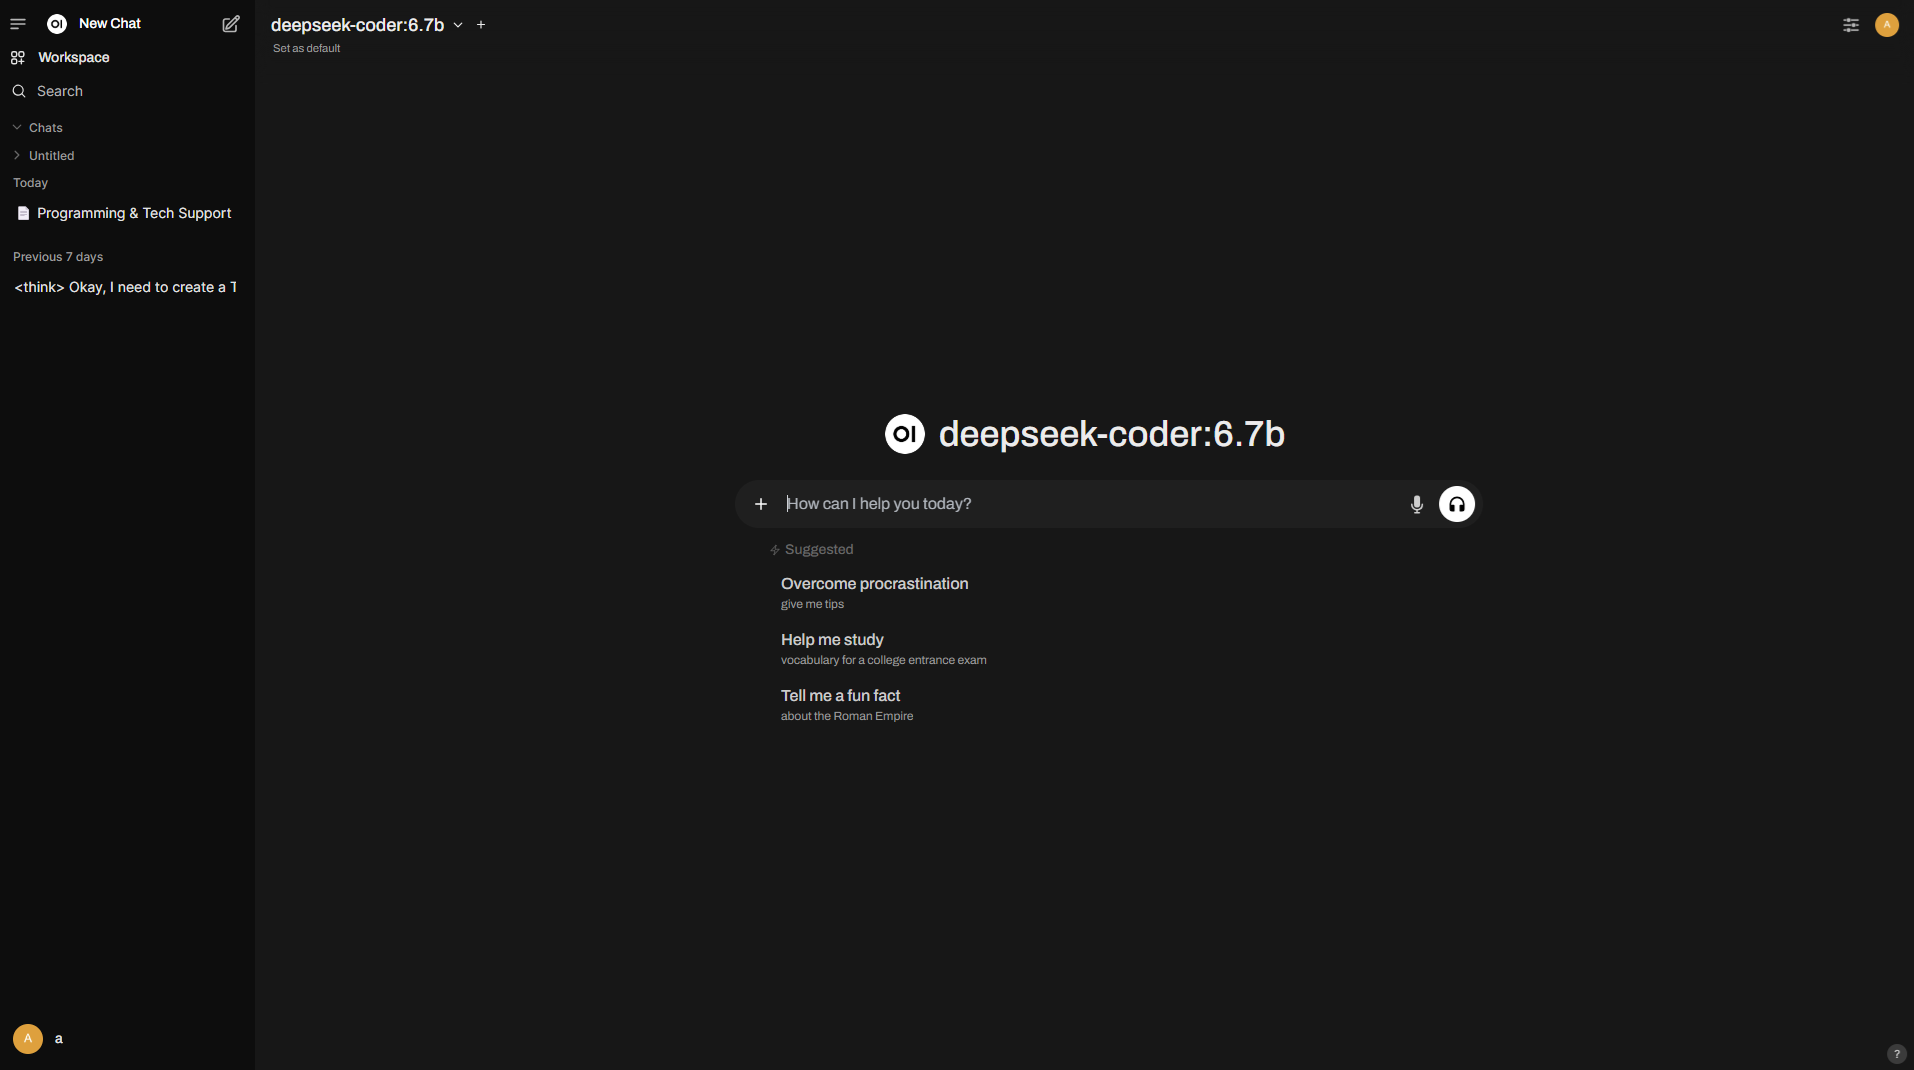
Go to http://localhost:8080/ on your windows browser, setup a locally-saved account and start chatting with the model.
Have fun!

Comments powered by Disqus.